How to label automotive wires so repairs stay readable
A clear wire-labelling system connects the marks on the harness to the circuit diagram, connector schedule, and future fault-finding work.
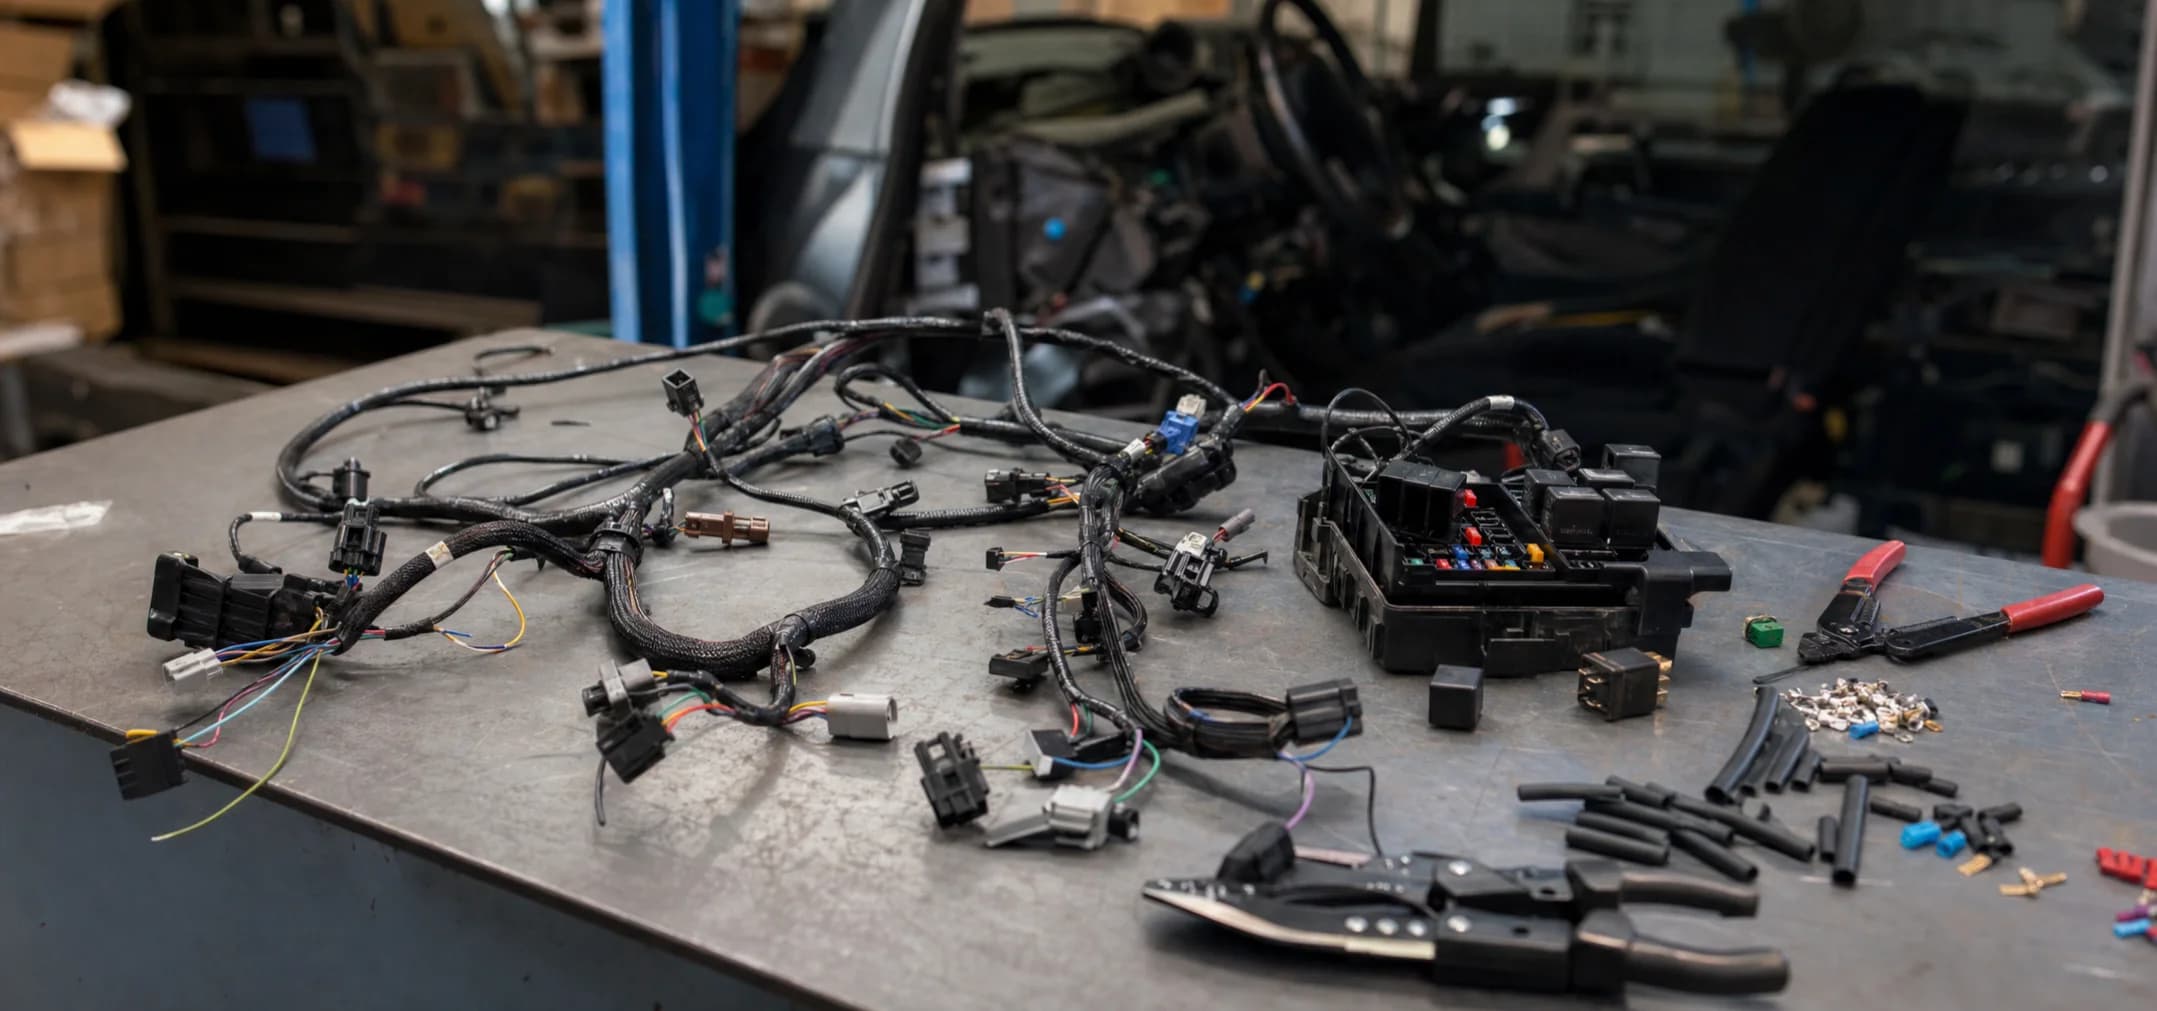
A clean loom is only useful if you can service it later. This guide explains how to label automotive wires so each circuit is easy to trace, test, and repair after the dashboard, trim, or engine cover goes back on.
Good labels stop simple mistakes, like swapping two relay outputs or landing an accessory feed on the wrong fuse. The best system is consistent, durable, and matched to your wiring diagram.
How to label automotive wires: the core rules
Use these rules on any car, 4x4, camper van, boat, or motorcycle loom:
- Label both ends of every wire. A label at only one end still leaves you guessing.
- Label before final install. It is much harder once the loom is taped, clipped, or hidden.
- Use the same names as your diagram. The label should match the circuit ID on paper or in software.
- Keep labels short but unique. Long labels are hard to read and hard to fit.
- Put labels where you can see them later. Avoid hiding them under clamps, tape, or heat sleeve.
- Use durable materials. Engine bays, underbody runs, and camper service areas are harsh.
A label should answer two questions fast: “What is this wire?” and “Where does it go?”
Pick a simple wire ID format
There is no single naming system that fits every build. A two-relay light bar harness may only need plain labels. A full camper or race car loom needs circuit IDs.
Format | Example | Best for | Notes |
|---|---|---|---|
Function only | | Small looms | Easy to read, but can clash later |
Circuit number plus function | | Most builds | Clear, scalable, and easy to match to a diagram |
Source to load | | Fuse box service | Great near fuse panels and relays |
For most builds, use circuit number plus function. It gives each wire a unique ID while still making sense at a glance.
Good examples:
C01 MAIN IGN +C04 FAN RELAY 86C08 USB +C08 USB GNDC12 FRIDGE +C12 FRIDGE GND
Avoid vague names like AUX, POWER, or SWITCH. They seem fine during the build, then become useless six months later.
What to print on each label
Space is limited, so use compact fields:
- Circuit ID:
C12,L03,PWR1 - Function:
FRIDGE,FAN,SPOT,BILGE - Polarity or role:
+,GND,SIG,TRIG - Pin or terminal number:
30,85,86,87,A1,B4 - Destination:
TO SW,TO ECU,TO PUMP
For relay circuits, terminal numbers are very helpful. For a refresher on relay contacts and coil terminals, see Automotive Relay Types: SPST vs SPDT.
For fused circuits, make the fuse position part of your system. If the wire leaves fuse 6, use F6 WATER PUMP + instead of PUMP WIRE. If you are still planning fuse values, read Automotive Fuse Sizing for 12V Circuits.
Use a heat-shrink label maker for permanent looms
For most automotive wiring looms, a heat-shrink label maker is the best tool. It prints onto heat-shrink tube. You slide the tube over the wire, then shrink it in place after crimping or before final bundling.
Heat-shrink labels beat marker pen and basic tape because they:
- stay wrapped around the wire
- resist oil, dirt, and handling
- do not flap like flag labels
- look professional in fuse boxes and service panels
- can survive inside a loom if placed before sleeving
Choose printable heat-shrink tube that fits the wire before and after shrinking. It should slide on without force, then grip the insulation after heat is applied.
Common tips:
- Use white or yellow tube for best contrast.
- Print in a simple, bold font if your label maker allows it.
- Leave enough blank tube at each end of the text.
- Shrink with controlled heat, not an open flame.
- Keep the label away from sharp bends and crimp strain relief.
- Slide labels on before fitting sealed connectors that cannot be removed.
If a wire already has a terminal fitted, check whether the tube can pass over it. Often it cannot, which is why labels should be planned before crimping all terminals.

Where to place labels on the loom
Label position matters as much as label content. Put labels where a future person will look:
- At the fuse box: label each wire as it enters or leaves the panel.
- At relays: label coil, power feed, and output wires.
- At connectors: label each side of a plug if the circuit is not obvious.
- At branch points: label wires just before they split away from the main loom.
- At devices: label near lights, pumps, fans, sockets, sensors, and switches.
- At grounds: label ground wires and ground studs clearly.
Leave a small service loop where possible. A good rule is to place the label within a hand’s width of the termination, while keeping it visible after the loom is clipped in place.
Label grounds and shared returns clearly
Ground wires cause confusion because many of them look the same. Do not label every ground simply as GND. Add the circuit or device:
C08 USB GNDC12 FRIDGE GNDC16 PUMP GNDDASH BUS GNDCHASSIS BOND
For shared ground buses, label both the device end and the bus end. If you have multiple ground points, name them GND-A, GND-B, or HOUSE GND, and match those names in your diagram.
Match labels to your wiring diagram
Wire labels work best when they match a drawing. If the label says C14, the diagram should also show C14. If the diagram says F3, the fuse box label should use F3 too.
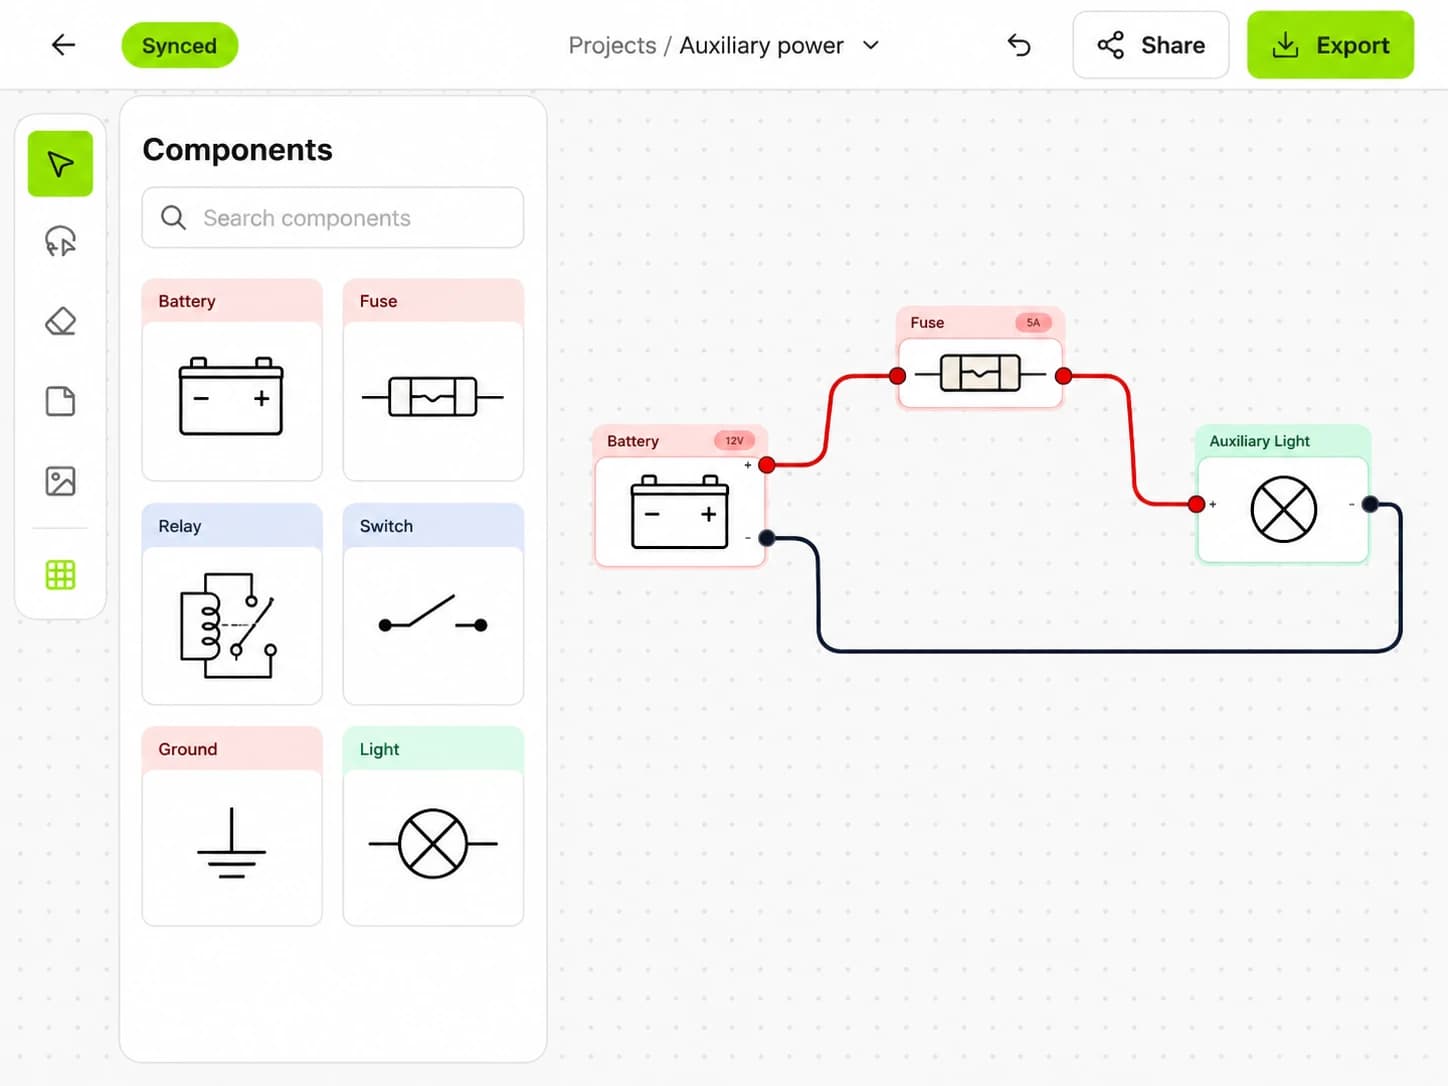
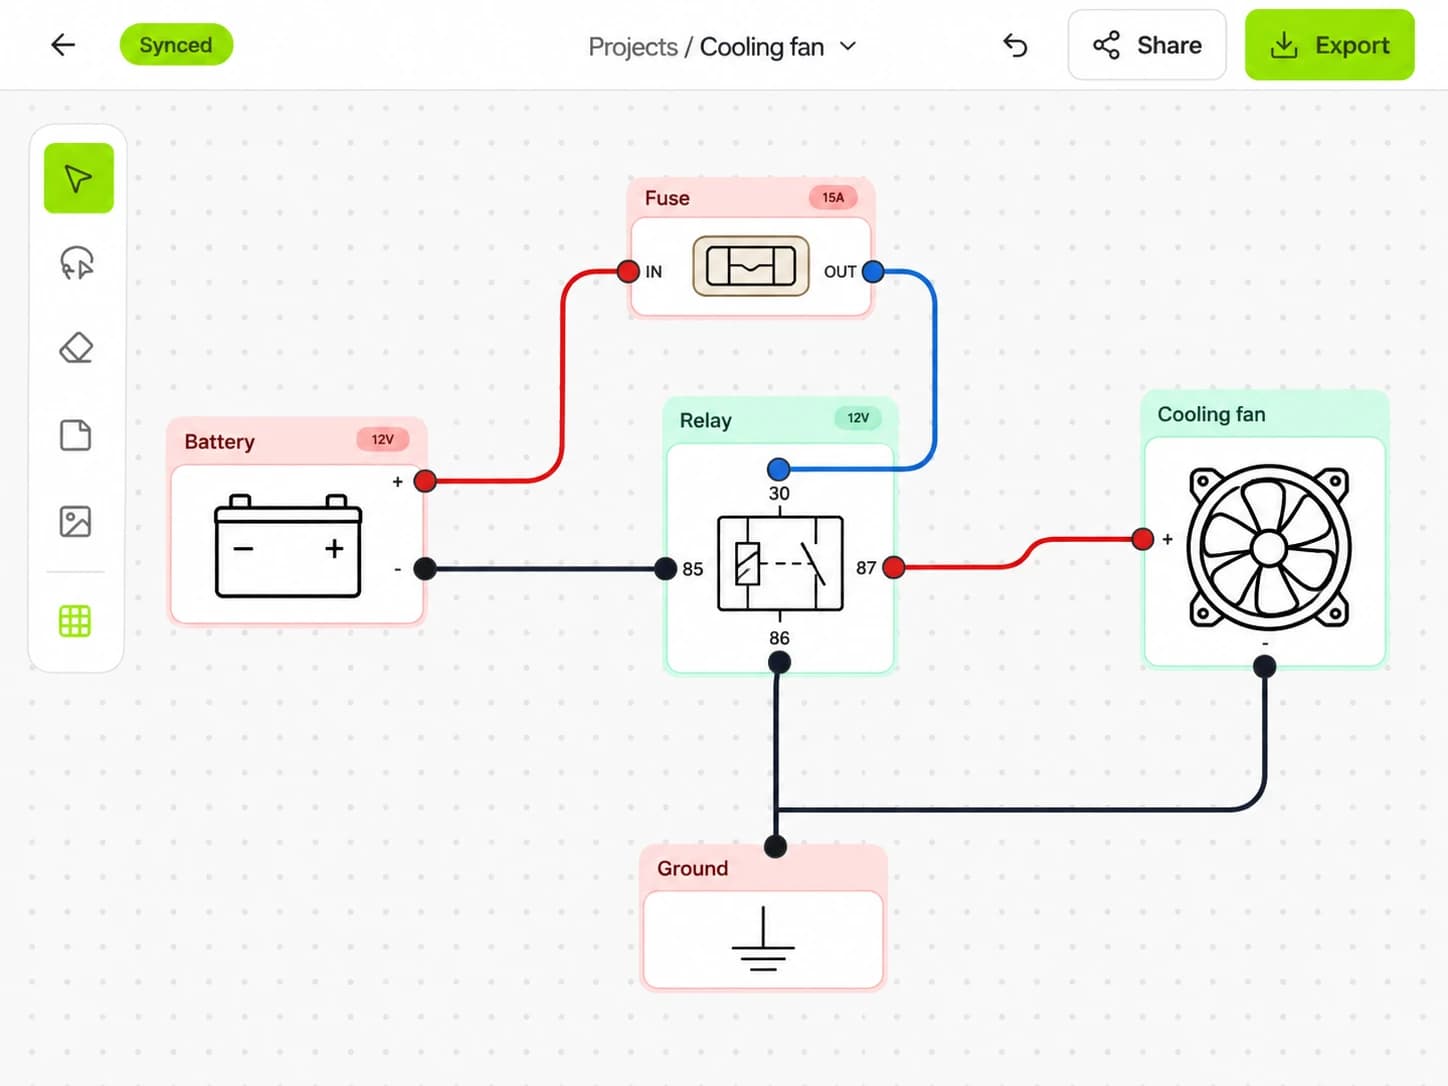
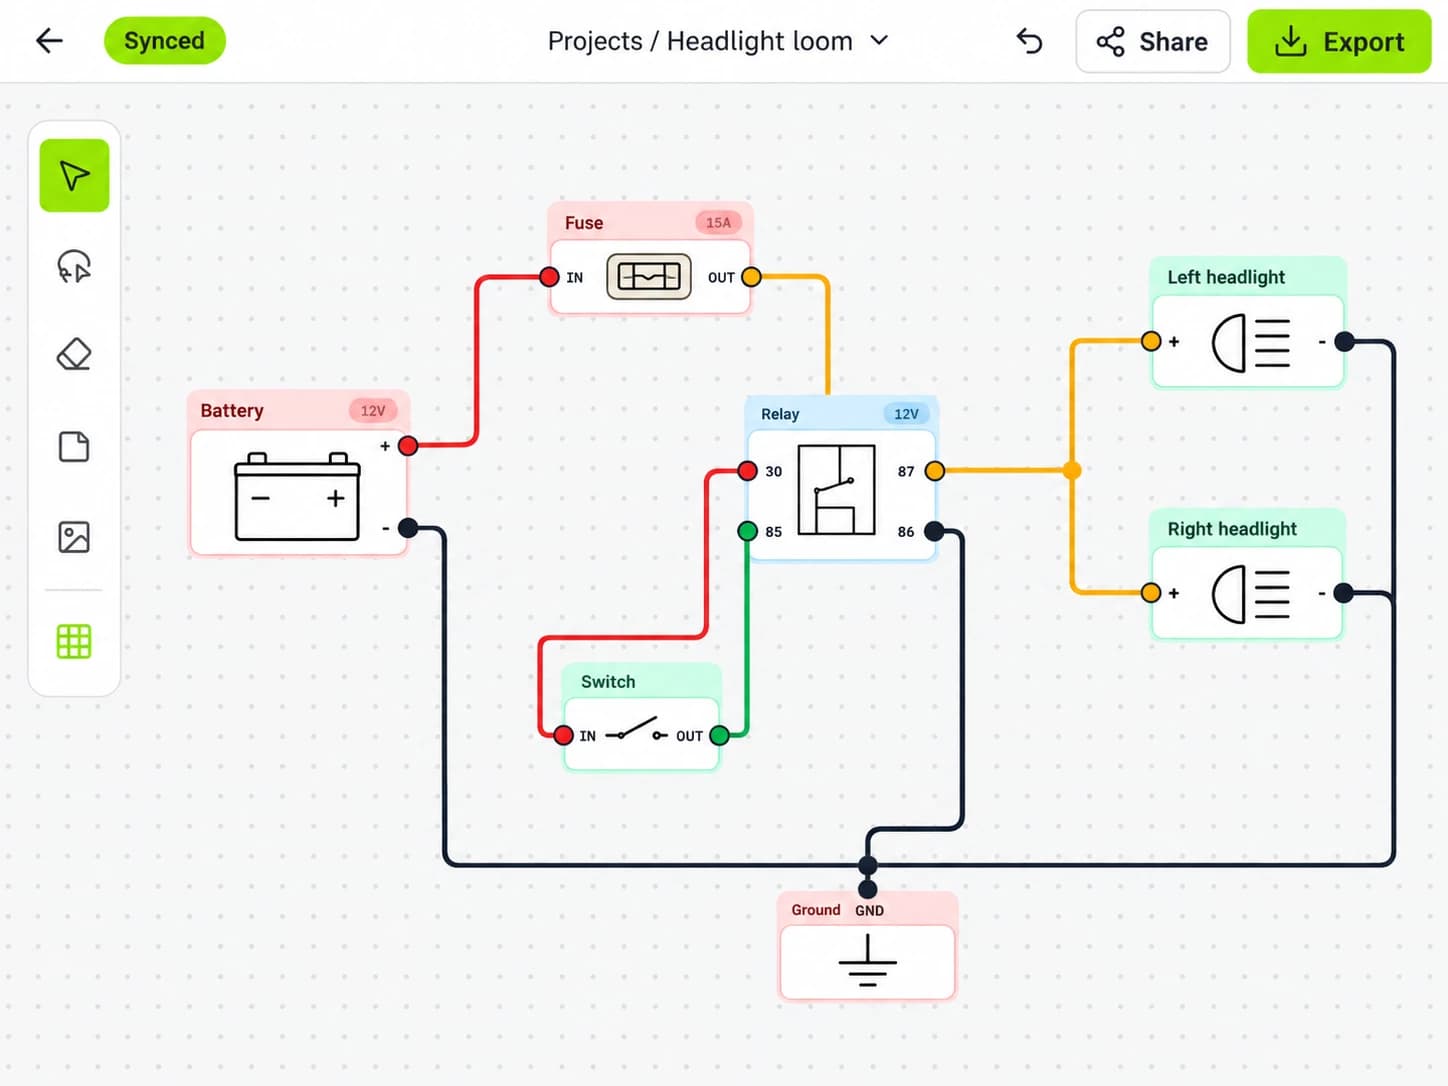
This is where wiring software helps. In X/D Loom, you can plan circuits, fuses, relays, connectors, and wire names before you build. Then you can export a diagram that uses the same IDs printed on the loom.
The key point is the single source of truth. Pick one naming system and keep it the same across:
- printed wire labels
- fuse box notes
- connector pinouts
- service documents
- exported diagrams
If you change a circuit during the build, update the label and the diagram at the same time. A tidy loom with wrong labels is worse than no labels.
Choose the right label type for each area
Heat-shrink labels are usually best, but some areas need removable tags or larger labels.
Label type | Best use | Pros | Watch out for |
|---|---|---|---|
Printable heat-shrink tube | Permanent wire IDs | Durable, neat, secure | Must be fitted before some terminals |
Self-laminating wire wraps | Service panels, retrofits | Can fit after termination | Adhesive quality varies with heat and dirt |
Flag labels | Temporary testing, bench looms | Lots of text space | Can snag or tear in vehicles |
Clip-on markers | Large panels, repeated IDs | Easy to move | Can fall off small wires |
Engraved or punched tags | Battery cables, main feeds | Very durable | Bulky on small looms |
For engine bays, underbody wiring, and marine areas, avoid paper tags and cheap office labels. Heat, moisture, oil, and abrasion will beat them.
For battery cables and large inverter feeds, use larger tube and a short label such as HOUSE MAIN + or INV 12V +.
Build a label plan before cutting wire
A label plan does not need to be fancy. A simple table is enough.
Create columns for circuit ID, wire color, wire size, source, destination, fuse or breaker position, connector and pin, and printed label text.
Example:
Circuit | Color | Source | Destination | Label text |
|---|---|---|---|---|
C03 | Red | Fuse 3 | Water pump switch | |
C03 | Black | Pump | Ground bus A | |
C07 | Blue | Switch | Relay terminal 86 | |
C07 | Red | Relay terminal 87 | Fan + | |
This table helps you spot duplicates before they become real wires. It also makes batch printing easier.

Step-by-step: labeling a new automotive loom
Use this process for a fresh loom build.
- Finish the circuit plan. Decide each load, fuse, relay, switch, connector, and ground.
- Assign circuit IDs. Use a short prefix and a number, such as
C01toC20. - Write the label text. Keep it short and unique.
- Print heat-shrink labels. Print two or more per wire, depending on branches.
- Cut and strip wire. Keep the label set with the wire.
- Slide labels on before crimping closed ends. This avoids rework.
- Crimp and test. Confirm continuity and pin positions.
- Shrink labels after final position is known. Do not shrink them under clamps.
- Bundle the loom. Keep labels visible at service points.
- Update the diagram. Record any changes made during the build.
For longer looms, add a temporary masking tape tag during the rough build. Remove it once the final heat-shrink labels are in place.
Common wire labeling mistakes
Most label problems come from rushing the last 10% of the job. Avoid these mistakes:
- Using the same label twice.
AUX +on three wires is not useful. - Labeling only the load end. The fuse box end matters just as much.
- Covering labels with loom tape. Leave windows at service points.
- Putting labels in high-abrasion spots. Move them away from brackets and edges.
- Printing too small. A label that needs a magnifier will not help on the trail.
- Relying on color alone. Wire color helps, but labels confirm the circuit.
- Skipping spares. Label spare wires as
SPARE 1,SPARE 2, with source and end point.
Also avoid changing label styles halfway through a build. Mixed systems slow everyone down.
Final checks before the loom is closed
Before you wrap, sleeve, or install the loom, do a label audit.
Check that:
- every wire has a label at both ends
- every connector has a clear pinout record
- every fuse and relay wire matches the diagram
- every ground return has a circuit name
- spare wires are capped and labeled
- labels remain visible after mounting
- the printed diagram matches the finished loom
If another person can trace a circuit without asking you questions, your labels are doing their job.
Conclusion
Learning how to label automotive wires is mostly about planning. Use short unique IDs, print durable heat-shrink labels, mark both ends, and keep every label tied to your wiring diagram.
If you are planning a new loom, sketch the circuits before you cut wire. Build your labels from that plan, then keep the diagram updated as the loom changes. To design and document the whole system in one place, start with X/D Loom.
Put it into practice.
Plan your next circuit in X/D Loom. Add components, connect the wires, and keep your build easy to follow.
Free to start. No credit card required.